Table of Contents
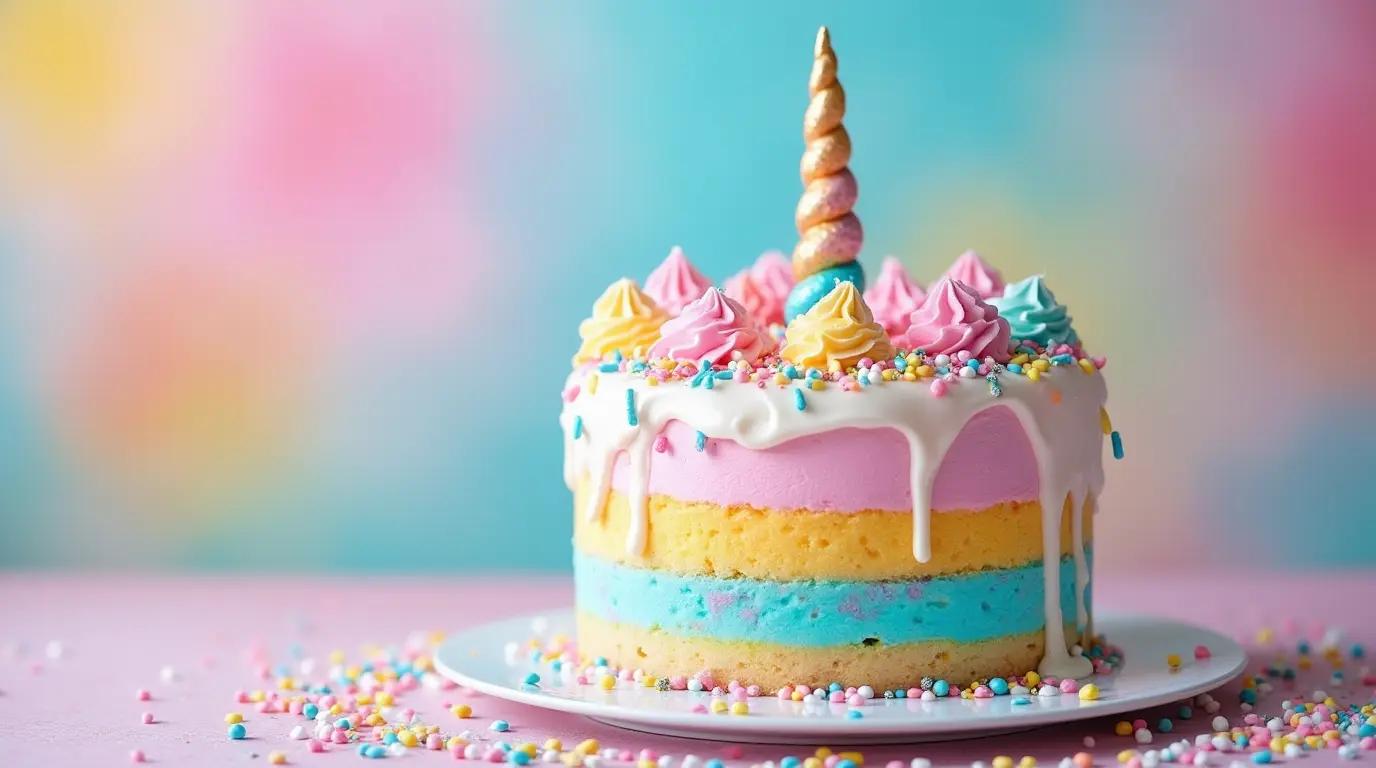
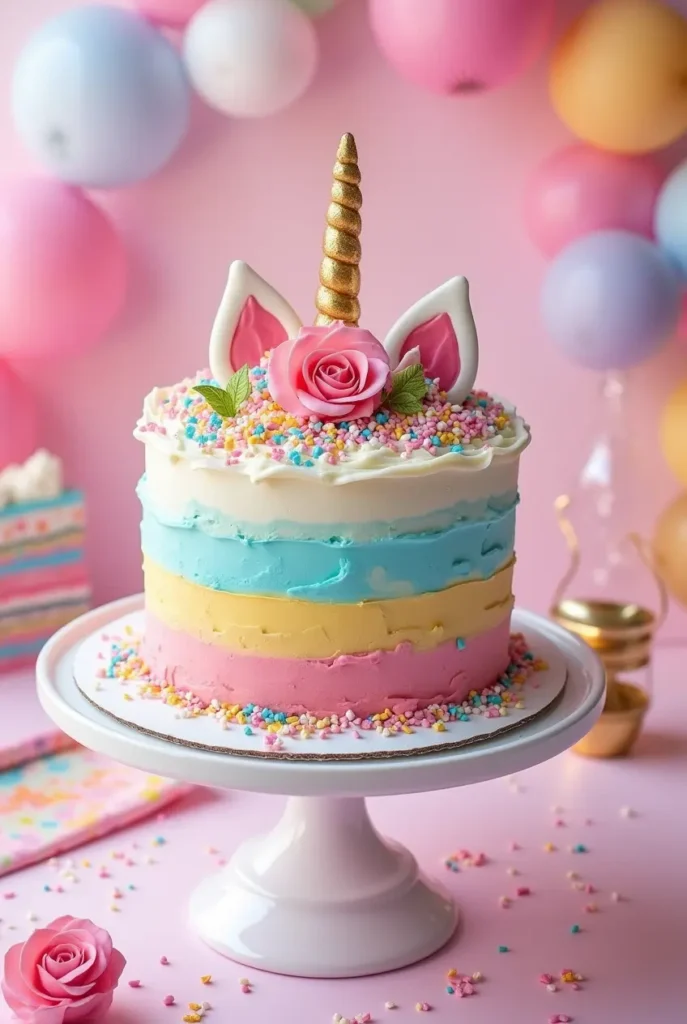
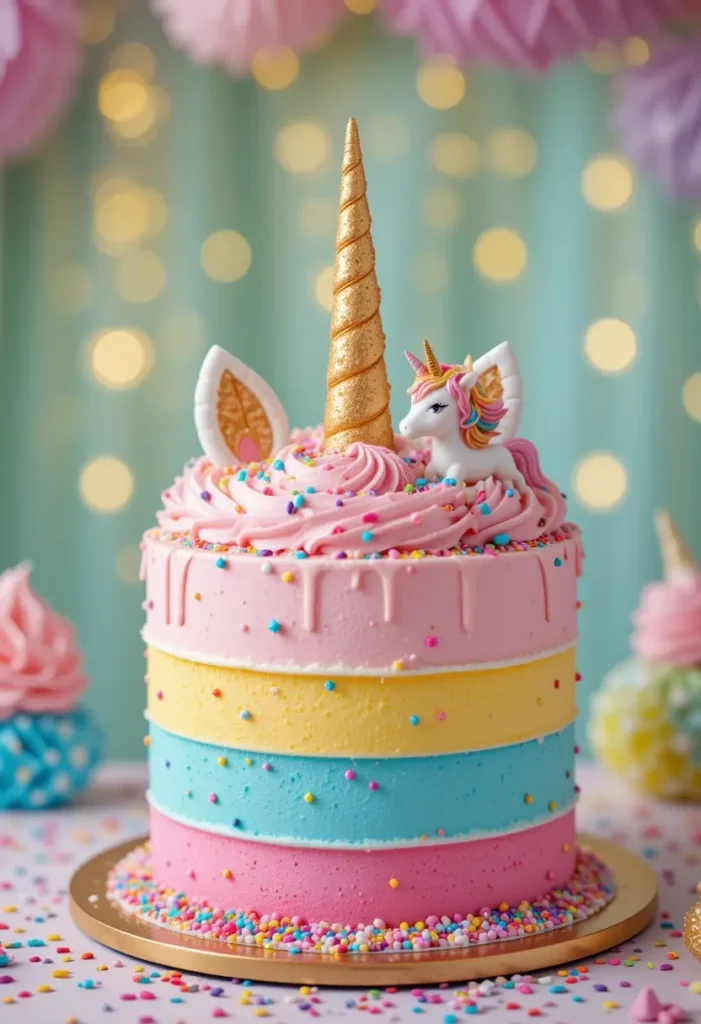
Welcome to a world of whimsy and sweetness with our Joyful Unicorn Cake! This enchanting dessert is not just a treat; it’s a celebration on a plate, perfect for birthdays, family gatherings, or any occasion that calls for a touch of magic. Have you ever seen a cake so vibrant and colorful that it instantly brings a smile to your face? That’s the joy this unicorn cake promises!
Imagine layers of fluffy, pastel-colored cake adorned with luscious frosting that sparkles like fairy dust. It’s not only visually stunning but also incredibly delicious, making it a crowd-pleaser for kids and adults alike. Whether you’re planning a themed party or simply want to brighten up your day, this recipe is versatile enough to fit any celebration. So grab your mixing bowls, and let’s create something truly magical together!
Why You’ll Love This Recipe
When it comes to celebrating life’s special moments, the Joyful Unicorn Cake stands out as a delightful choice that combines fun and flavor. Here are some reasons why you’ll absolutely love making—and sharing—this magical dessert:
1. Visual Appeal
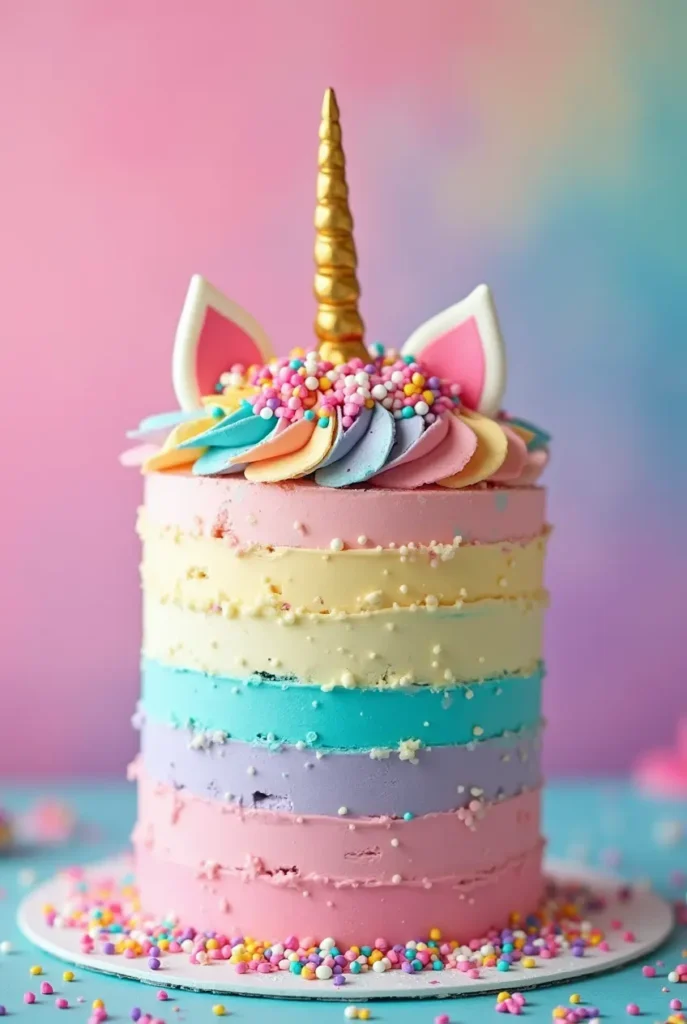
- Vibrant Colors: The pastel hues of this cake are simply irresistible. Each layer showcases a different color, creating an eye-catching masterpiece that will wow your guests.
- Whimsical Design: With swirls of frosting and playful decorations, this cake is not just food; it’s an experience that sparks joy and imagination.
2. Delicious Flavor
- Moist and Fluffy: The cake layers are made with a perfect balance of ingredients, ensuring a light and fluffy texture that melts in your mouth.
- Sweet and Salty Harmony: The salted caramel sauce adds a rich depth of flavor, perfectly complementing the sweetness of the cake.
3. Versatile for Any Occasion
- Whether you’re hosting a birthday party, baby shower, or just want to brighten up a Wednesday afternoon, this unicorn cake fits right in. Its cheerful theme makes it suitable for both children and adults alike!
4. Fun to Make
- Baking this cake is not only rewarding but also enjoyable! It’s a great activity to do with kids or friends, encouraging creativity as you mix colors and decorate.
- Plus, it provides an opportunity to practice your baking skills while experimenting with flavors and designs.
5. Shareable Moments
- This cake is perfect for creating memories around the table. Imagine gathering your loved ones to share slices of this enchanting creation—it’s bound to lead to laughter and joy.
Pro Tips for Success:
- Prep Ahead: If you’re short on time, consider baking the cake layers a day in advance. Just wrap them well and store them in the fridge until you’re ready to frost.
- Coloring Techniques: Don’t hesitate to mix different shades of food coloring for unique effects! You can even swirl colors together for a marbled look.
- Decorate Your Way: Feel free to add your personal touch with edible glitter, sprinkles, or themed toppers that match your celebration.
With all these reasons combined, it’s no wonder the Joyful Unicorn Cake is a favorite among bakers and dessert lovers alike! So let’s gather our ingredients and dive into this delightful recipe—you won’t regret it!
Ingredients to Make Unicorn Cake
Creating your very own Joyful Unicorn Cake is an adventure filled with colorful ingredients that come together to make a truly magical dessert! Let’s gather everything you need to whip up this delightful treat. Below is a detailed list of ingredients, along with some helpful tips to ensure your baking experience is as smooth as frosting.
For the Cake Layers:
To achieve those enchanting pastel colors and a fluffy texture, here’s what you’ll need:
- 2 ½ cups all-purpose flour
Tip: Sift the flour before measuring to aerate it, which helps create a lighter cake. - 2 cups granulated sugar
This sweetener is essential for that delightful taste and moist texture. - 1 cup unsalted butter (softened)
Make sure your butter is at room temperature for easy creaming with the sugar. - 5 large eggs
Room temperature eggs will mix in more easily, creating a smoother batter. - 1 cup whole milk
Using whole milk adds richness; however, you can substitute with any milk of your choice if needed. - 1 tbsp baking powder
This leavening agent ensures your cake rises beautifully—don’t skip it! - 2 tsp vanilla extract
For that warm, aromatic flavor that brings everything together! - Food coloring (pink, purple, blue)
Use gel food coloring for more vibrant hues without altering the batter’s consistency.
For the Frosting:
The frosting is where the fun continues! Here’s what you’ll need to create that luscious topping:
- 1 cup unsalted butter (softened)
Again, softening is key for a smooth frosting texture. - 4 cups powdered sugar
Sift it before using to avoid lumps in your frosting and achieve a silky finish. - 1/4 cup heavy cream
This adds a creamy consistency and makes spreading easier. Feel free to adjust for desired thickness! - 1 tsp vanilla extract
Just like in the cake, this enhances the overall flavor of your frosting! - Additional food coloring (optional)
Get creative! Use different colors to pipe decorations or swirls on top of your cake.
Pro Tips for Success:
- Quality Ingredients Matter: Using high-quality butter and fresh eggs can significantly enhance the flavor of your cake.
- Measure Accurately: Baking is a science; accurate measurements are crucial for the best results. Consider investing in a kitchen scale for precision!
- Prepare Your Pans: Don’t forget to grease and flour your cake pans well—or line them with parchment paper—to prevent sticking.
With these ingredients at hand, you’re all set to embark on your unicorn cake journey. Remember, baking should be fun and stress-free, so take your time and enjoy each step. Let’s move on to creating this whimsical masterpiece together!
How to Make Unicorn Cake
Now that we have all our ingredients ready, it’s time to bring this Joyful Unicorn Cake to life! Making this cake is an enjoyable process that allows your creativity to shine. Follow these step-by-step instructions, and I’ll guide you along the way!
Step 1: Preheat Your Oven
- Set your oven to 350°F (175°C). Preheating ensures that your cake bakes evenly.
Step 2: Prepare Your Cake Pans
- Grease three 8-inch round cake pans with butter or non-stick spray.
- Tip: For extra security against sticking, you can also line the bottom of each pan with parchment paper.
Step 3: Cream the Butter and Sugar
- In a large mixing bowl, combine 1 cup of softened unsalted butter and 2 cups of granulated sugar.
- Using an electric mixer, beat them together on medium speed until the mixture is light and fluffy—about 3-5 minutes.
This step is crucial for incorporating air into your batter, which helps create a fluffy texture.
Step 4: Add the Eggs
- Add 5 large eggs, into the mixture one at a time, ensuring to mix thoroughly after each addition.
Ensure that the eggs are at room temperature for optimal blending into the batter.
Step 5: Combine Dry Ingredients
- In another bowl, whisk together 2 ½ cups of all-purpose flour and 1 tbsp of baking powder.
- Gradually add this dry mixture to the wet ingredients while alternating with 1 cup of whole milk and 2 tsp of vanilla extract.
Start and end with the flour mixture for best results.
Step 6: Divide and Color the Batter
- Once your batter is smooth, divide it evenly into three bowls.
- Add food coloring to each bowl to create your desired pastel shades (pink, purple, blue). Start with a few drops; you can always add more for vibrant colors!
Tip: Use gel food coloring for more intense colors without changing the batter’s consistency.
Step 7: Bake the Layers
- Pour each colored batter into its prepared cake pans.
- Bake in the preheated oven for approximately 25-30 minutes, or until a toothpick inserted into the center comes out clean.
Keep an eye on them towards the end—ovens can vary!
Step 8: Cool the Cakes
- After baking, take the cakes out of the oven and let them cool in their pans for about 10 minutes.
- Next, move them to wire racks to cool completely before adding any frosting.
Step 9: Make the Frosting
While your cakes are cooling, let’s whip up that delicious frosting!
- In a mixing bowl, cream together 1 cup of softened unsalted butter until it reaches a smooth consistency.
- Gradually add 4 cups of powdered sugar, mixing on low speed until combined.
- Add 1/4 cup of heavy cream and 1 tsp of vanilla extract, then increase speed to medium-high and beat until light and fluffy—about 3 minutes.
Step 10: Assemble Your Unicorn Cake
- Set one layer of cake on a serving plate or cake stand.
- Spread a generous amount of frosting on top.
- Add another layer on top and repeat until all layers are stacked.
- Apply frosting to the top and sides of the cake using the remaining frosting.
Step 11: Decorate!
- Now comes the fun part! Use any leftover frosting to pipe decorative swirls or add sprinkles for that magical touch. Get creative with edible glitter or themed toppers to enhance its unicorn charm.
Pro Tips:
- If you want sharper edges on your cake, chill it in the fridge for about 30 minutes after frosting before adding any decorations.
- Experiment with different piping tips for unique designs!
And there you have it—the perfect Unicorn Cake ready to dazzle your guests! Enjoy every moment as you slice into this whimsical creation; it’s sure to be a hit at any celebration!
Serving Suggestions
Now that your Joyful Unicorn Cake is beautifully baked and decorated, it’s time to think about how to serve this delightful creation! Presentation can elevate any dessert, making it even more enticing for your guests. Here are some fun and creative serving suggestions that will ensure your unicorn cake shines at any celebration.
1. Slice with Style
- Use a Warm Knife: To achieve clean slices, dip your knife in hot water and wipe it dry before cutting. This technique helps avoid having the frosting cling to your knife.
- Serve Generous Portions: Given its whimsical appeal, don’t be shy about serving larger slices—everyone will want to indulge!
2. Themed Plates and Utensils
- Colorful Tableware: Use vibrant plates and napkins that match the pastel colors of the cake. This adds to the festive atmosphere and creates a visually appealing spread.
- Fun Cake Toppers: Consider adding themed cake toppers, such as miniature unicorns or stars, on top of each slice for an extra touch of magic.
3. Accompaniments
- Pair with Ice Cream: A scoop of vanilla or rainbow sherbet ice cream makes a delicious pairing with the sweet cake. The creaminess complements the flavors perfectly!
- Fresh Fruit Garnish: Serve with fresh berries or edible flowers for a refreshing contrast and a pop of color on the plate.
4. Make It Interactive
- DIY Decor Station: Set up a small station with additional sprinkles, edible glitter, and whipped cream where guests can customize their own slices. It’s a fun way to engage everyone!
- Cupcake Version: If you want to make serving easier, consider baking some cupcakes using the same batter. This way, guests can enjoy individual servings without needing plates.
5. Presentation Matters
- Tiered Cake Stand: If you’re showcasing the entire cake, use a tiered stand for an elegant display that draws attention.
- Cake Pedestal: Elevating your cake on a decorative pedestal adds height and makes it the centerpiece of your dessert table.
Pro Tips for Success:
- Chill Before Serving: Letting your decorated cake chill in the fridge for about 30 minutes before slicing helps set the frosting and makes for cleaner cuts.
- Store Leftovers Properly: If there are any leftovers (though we doubt it!), store them in an airtight container in the fridge for up to three days to keep them fresh.
With these serving suggestions, you’re all set to impress your friends and family with not just a beautiful cake but also an inviting presentation that enhances their experience. Enjoy every moment as you share this joyful treat—it’s sure to create lasting memories!
Conclusion
Congratulations on creating your very own Joyful Unicorn Cake! You’ve transformed simple ingredients into a stunning masterpiece that’s not only visually captivating but also deliciously delightful. As you slice into this whimsical treat, take a moment to appreciate the magic you’ve crafted in your kitchen.
Reflecting on Your Baking Adventure
Baking can be such a joyful experience, filled with creativity and love. Whether you made this cake for a special occasion or just to brighten your day, remember that the heart you put into it is what truly makes it special. Here are a few thoughts to consider as you enjoy your creation:
- Share the Joy: This cake is perfect for sharing with friends and family. Each slice is an invitation to celebrate together, creating sweet memories that will last long after the last crumb is gone.
- Embrace Your Creativity: Don’t hesitate to experiment with different colors, flavors, or decorations next time! The beauty of baking is that every cake can be uniquely yours.
- Capture the Moment: Take some photos of your unicorn cake before it disappears! Not only will these memories be fun to look back on, but they’ll also inspire others to try their hand at this enchanting recipe.
Final Thoughts
As you wrap up this baking adventure, I hope you feel inspired and empowered in your culinary journey. Remember that every great baker started where you are right now—experimenting, learning, and having fun!
Thank you for joining me in making this magical unicorn cake. I can’t wait to hear about your experiences and see how your creations turn out! Happy baking!
FAQs
Baking can sometimes raise a few questions, especially when it comes to creating a whimsical dessert like the Joyful Unicorn Cake! Don’t worry—I’ve compiled a list of frequently asked questions to help guide you through the process. Let’s dive in!
1. Can I make this cake ahead of time?
Absolutely! You can prepare the cake layers up to two days ahead. Simply wrap them securely in plastic wrap and store them in the refrigerator. When you’re ready to frost, let them come to room temperature for easier handling.
2. How should I store leftover cake?
To keep your unicorn cake fresh, store any leftovers in an airtight container in the refrigerator for up to three days. If you wish to freeze them, tightly wrap individual slices in plastic wrap and then place them in a freezer-safe bag; they can be stored in the freezer for up to three months!
3. What if I don’t have gel food coloring?
If gel food coloring isn’t available, you can use liquid food coloring; however, be cautious with the amount, as it can affect the batter’s consistency. For best results, try to find gel or paste food coloring for vibrant colors without altering your cake’s texture.
4. Can I use different flavors for the cake?
Absolutely! Feel free to experiment with different flavor extracts such as almond or lemon instead of vanilla. You could also incorporate cocoa powder for a chocolate version—just replace some of the flour with cocoa.
5. What frosting works best with this cake?
The buttercream frosting recipe provided is perfect for this cake, but you could also try cream cheese frosting for a tangy twist or whipped cream for a lighter option. Just make sure any frosting you choose pairs well with sweet flavors!
6. How can I achieve sharp edges on my frosted cake?
For clean, sharp edges, chill your frosted cake in the fridge for about 30 minutes before serving. This helps set the frosting and makes it easier to achieve that professional look when slicing.
7. Can I turn this recipe into cupcakes?
Yes! This recipe works wonderfully as cupcakes too! Simply divide the batter among cupcake liners and bake at 350°F (175°C) for about 15-20 minutes or until a toothpick comes out clean.
Final Thoughts
I hope these FAQs have answered your burning questions about making the Joyful Unicorn Cake! Remember, baking is all about experimentation and fun, so don’t hesitate to get creative and adjust things according to your taste preferences. If you have any more questions or need further assistance, feel free to reach out—I’m here to help! Happy baking!