Table of Contents
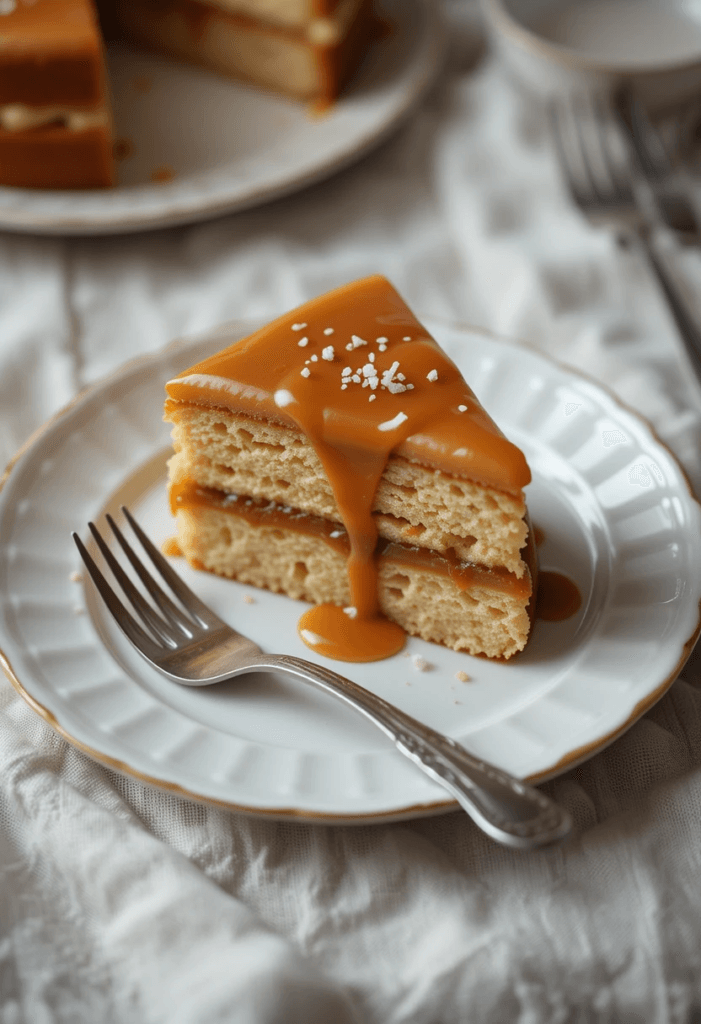
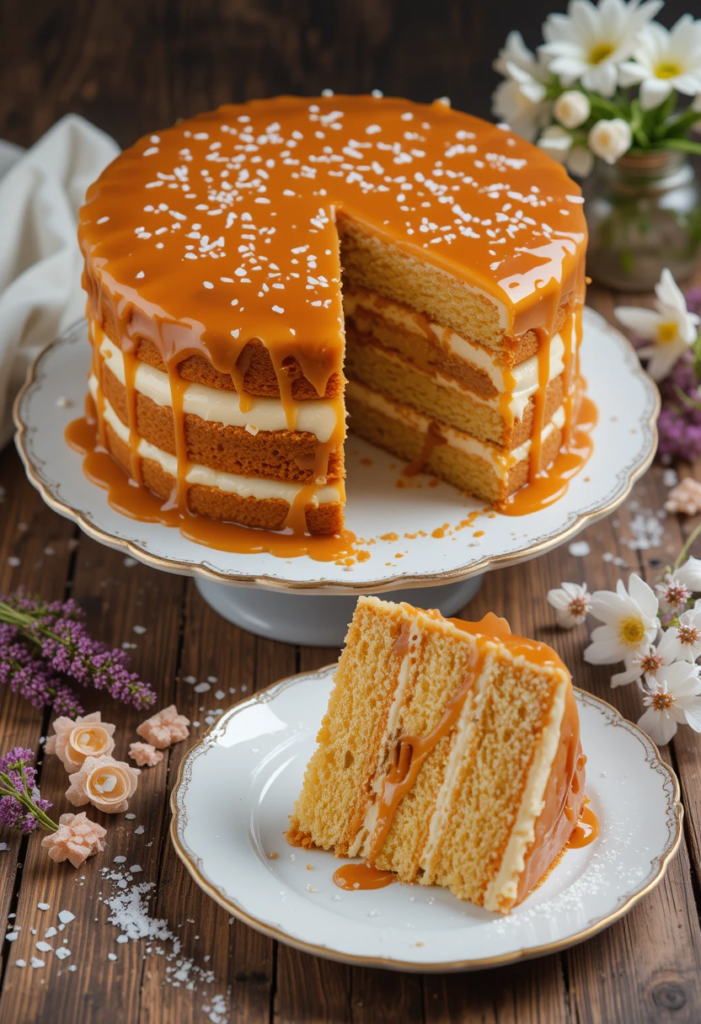
Have you ever tasted a dessert that feels like a warm hug? That’s exactly what you get with this Salted Caramel Cake That Will Melt Your Heart. Imagine layers of moist cake drizzled with rich, homemade salted caramel, each bite delivering the perfect balance of sweet and salty. It’s not just a treat; it’s an experience that brings people together.
Whether you’re celebrating a special occasion or simply wanting to indulge in something delightful, this cake is the perfect choice. Its versatility means it can easily become the star of your dessert table or a comforting end to a cozy dinner at home. Plus, it’s surprisingly easy to make! So grab your apron and let’s dive into creating this irresistible masterpiece that will surely impress family and friends alike. You won’t want to miss out on making memories around this delicious cake!
Why You’ll Love This Recipe
When it comes to desserts that truly make an impression, this Salted Caramel Cake stands out as a crowd-pleaser. Here’s why you’re going to love making and sharing this delightful treat:
- Irresistible Flavor Combination
The rich, buttery cake pairs perfectly with the sweet and salty notes of the homemade salted caramel. Each bite is a harmonious blend of flavors that dance on your palate, making it hard to resist just one slice! - Perfect for Any Occasion
Whether it’s a birthday party, family gathering, or just a cozy night in, this cake fits right in. Its elegant appearance makes it suitable for celebrations while also being comforting enough for an everyday dessert. - Easy to Customize
Feel free to experiment! Add layers of chocolate ganache or fresh fruit between the cake layers for added flavor dimensions. You can even adjust the saltiness of the caramel sauce based on your preference—just remember that balance is key! - A Fun Baking Experience
Making this cake is not only rewarding but also enjoyable! From whipping up the batter to watching the golden caramel come together on your stovetop, each step invites you into a world of deliciousness. - Impressive Presentation
With its luscious drizzles and beautiful layers, this salted caramel cake is sure to impress anyone who lays eyes on it (and tastes it!). It’s perfect for showcasing your baking skills without requiring advanced techniques. - Great Leftovers (if there are any!)
If you happen to have leftovers (which might be unlikely!), they store beautifully in an airtight container in the fridge for several days—making it easy to enjoy throughout the week.

So grab those ingredients and get ready for some baking magic! This Salted Caramel Cake isn’t just about satisfying your sweet tooth; it’s about creating moments filled with joy and connection around something truly special.
Ingredients to Make Salted Caramel Cake
Ready to whip up a delicious Salted Caramel Cake? Let’s gather everything you need! This list includes all the essential ingredients for both the cake and that mouthwatering salted caramel sauce. Don’t worry; it’s simpler than it sounds!
For the Cake:
- 2 cups all-purpose flour
This is your base, giving the cake its structure and fluffiness. - 1 ½ cups granulated sugar
Sweetness is key! It balances out the flavors beautifully. - ½ cup unsalted butter, softened
Butter adds richness and moisture. Make sure it’s at room temperature for easy mixing! - 1 cup buttermilk
Buttermilk makes your cake extra tender. If you don’t have any on hand, you can substitute with regular milk mixed with a splash of vinegar or lemon juice. - 3 large eggs
Eggs help bind everything together while adding moisture and richness. - 2 teaspoons baking powder & 1 teaspoon baking soda
These are your leavening agents that create a light texture in your cake. - 1 teaspoon vanilla extract
A dash of vanilla enhances all those wonderful flavors!
For the Salted Caramel Sauce:
- 1 cup granulated sugar
This will be transformed into caramel magic—watch closely as it melts! - 6 tablespoons unsalted butter (cubed)
Adding butter gives your caramel that creamy consistency we love. - ½ cup heavy cream (warm)
Warm cream helps create a smooth sauce without seizing up when added to hot sugar. - 1 teaspoon sea salt (or more to taste)
The star ingredient! Adjust according to how salty you like your caramel—just remember, balance is key here!
Pro Tips:
- Before starting, measure out all ingredients so you’re ready to go.
- Keep an eye on your caramel as it cooks; once it starts changing color, things move quickly!
- If you’re feeling adventurous, consider adding a sprinkle of flaky sea salt on top of the finished cake for an extra touch of elegance and flavor contrast.
With these ingredients in hand, you’re well on your way to creating something truly special. Let’s move on to making this delicious salted caramel cake come alive in your kitchen!

How to Make Salted Caramel Cake
Now that you have all your ingredients ready, let’s dive into the fun part—making this Salted Caramel Cake! Follow these step-by-step instructions, and you’ll be savoring a slice of heaven in no time.
Step 1: Preheat Your Oven
- Preheat your oven to 350°F (175°C). This ensures that your cake bakes evenly and rises beautifully.
Step 2: Prepare Your Pans
- Grease and flour two 9-inch round cake pans. You can also line the bottoms with parchment paper for easy removal later on—trust me, it makes life easier!
Step 3: Mix the Dry Ingredients
- In a medium bowl, whisk together:
- 2 cups all-purpose flour
- 2 teaspoons baking powder
- 1 teaspoon baking soda
This helps ensure even distribution of the leavening agents throughout the batter.
Step 4: Cream Butter and Sugar
- In a large mixing bowl, beat together:
- ½ cup unsalted butter (softened)
- 1½ cups granulated sugar
Use an electric mixer on medium speed until it’s light and fluffy—about 3-4 minutes. This process incorporates air into your mixture for a lighter cake!
Step 5: Add Eggs and Vanilla
- Add in:
- 3 large eggs, one at a time, beating well after each addition.
- Then mix in:
- 1 teaspoon vanilla extract
This adds depth to your flavor profile!
Step 6: Combine Wet Ingredients
- Gradually add:
- 1 cup buttermilk
Mix until just combined; don’t overmix here!
Step 7: Incorporate Dry Ingredients
- Slowly add the dry ingredient mixture into the wet ingredients. Mix on low speed until everything is just combined. A few lumps are okay; they’ll bake out!
Step 8: Bake Your Cakes
- Divide the batter evenly between your prepared pans.
- Bake in preheated oven for about 25–30 minutes, or until a toothpick inserted into the center comes out clean.
Once baked, let them cool in their pans for about ten minutes before transferring them to wire racks to cool completely.
Making Salted Caramel Sauce
While your cakes are cooling down, let’s make that delicious salted caramel sauce!
Step A: Melt Sugar
- In a medium saucepan over medium heat, add:
- 1 cup granulated sugar
Stir constantly with a wooden spoon or heat-resistant spatula as it melts—it should turn amber brown without any clumps.
Step B: Add Butter
- Once melted and golden brown (but not burnt!), carefully whisk in:
- 6 tablespoons cubed unsalted butter
The mixture will bubble up vigorously; keep stirring gently until smooth.
Step C: Pour in Cream
- Remove from heat and slowly pour in:
– ½ cup warm heavy cream, continuing to stir.
Be cautious as it may splatter!
- Stir in:
– 1 teaspoon sea salt, adjusting more if desired for taste.
Let this sauce cool slightly before using—it will thicken as it sits!
Assemble Your Cake
Once both components are cool:
- Place one layer of cake on a serving plate.
- Drizzle generously with salted caramel sauce.
- Top with another layer of cake.
- Finish by pouring more salted caramel over top—and feel free to let some drizzle down the sides for an extra special touch!
You’re now ready to enjoy this decadent dessert! Each slice promises layers of flavor that will leave everyone wanting more—not just because it’s delicious but because it’s made with love! Happy baking!

Serving Suggestions
Now that you’ve crafted a stunning Salted Caramel Cake, it’s time to think about how to serve it up in style! Presentation can elevate your dessert from delicious to truly memorable. Here are some delightful serving suggestions that will make your cake shine:
1. Classic Slice with Whipped Cream
- Serve a slice of cake alongside a generous dollop of freshly whipped cream. The lightness of the cream perfectly balances the richness of the salted caramel, creating an irresistible combination.
2. Garnish with Fresh Fruit
- Add some fresh berries—like strawberries, raspberries, or blueberries—on the plate for a pop of color and freshness. Their tartness complements the sweet and salty flavors beautifully.
3. Drizzle Extra Caramel
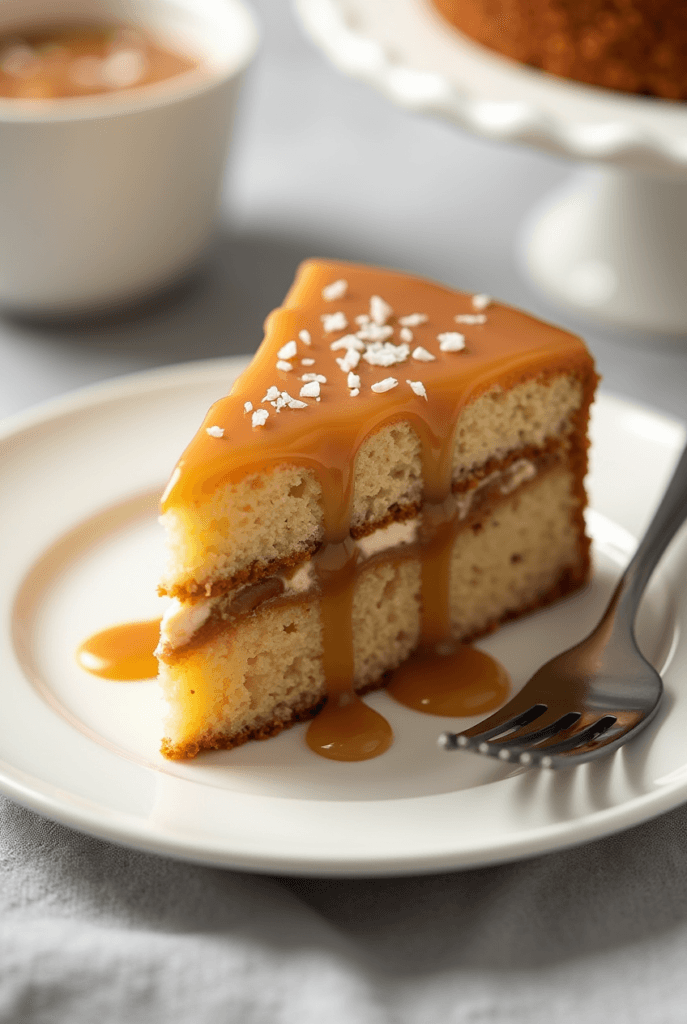
- Don’t hold back on that luscious salted caramel sauce! Drizzle additional sauce over each slice right before serving for an extra indulgent touch. Your guests will love this decadent addition!
4. Sprinkle with Sea Salt
- For those who appreciate that sweet-and-salty contrast, consider sprinkling just a pinch of flaky sea salt on top before serving. It enhances the flavor profile and adds an elegant finish.
5. Pair with Ice Cream
- A scoop of vanilla ice cream makes for a classic pairing! The creamy texture melts into each bite, making every mouthful even more delightful.
6. Create Dessert Plates
- For an impressive presentation at gatherings, create dessert plates by layering slices of cake with whipped cream and fruit in individual servings or small glasses—a fun twist everyone will enjoy!
Pro Tips:
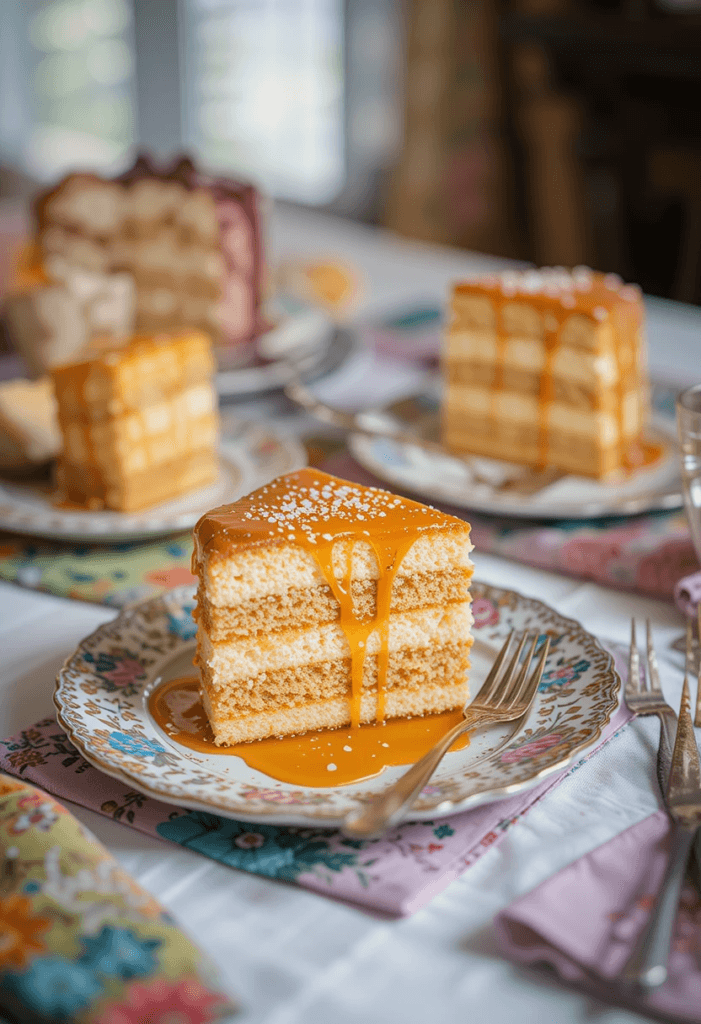
- If you’re serving this cake at an event or gathering, consider cutting it into smaller squares instead of traditional slices for easy sharing.
- Remember to keep any leftovers stored in an airtight container in the fridge; they’ll stay deliciously moist for several days!
With these serving suggestions in mind, you’re all set to wow your friends and family! Each way you choose to present your Salted Caramel Cake not only highlights its beautiful layers but also enhances its rich flavors—making every bite something special worth celebrating! Enjoy every moment around this delightful creation!
Conclusion
Congratulations on creating your very own Salted Caramel Cake! 🎉 Whether you baked it for a special occasion or just to treat yourself, I hope this delightful dessert has brought joy and sweetness into your kitchen. Here’s why this cake is truly something to celebrate:
- A Flavor Sensation: The combination of moist cake and rich salted caramel is simply irresistible. Each bite offers that perfect blend of sweet and salty, making it a showstopper at any gathering.
- Versatile Delight: This recipe can easily be customized to suit your taste. From adding layers of chocolate ganache to incorporating fresh fruits, the possibilities are endless!
- Memorable Moments: Baking isn’t just about the end result; it’s about creating memories with loved ones. Sharing this cake with friends and family will surely spark joy and laughter around the table.

Final Tips:
- Don’t hesitate to experiment with different toppings or fillings—your creativity is what makes each baking experience unique!
- If you have leftovers (which might be rare!), store them properly in an airtight container for delicious treats throughout the week.
As you savor each slice, take a moment to appreciate not just the flavors but also the time spent in crafting something beautiful from scratch. Remember, every great baker started somewhere, so keep exploring new recipes and honing your skills!
Thank you for joining me on this baking adventure! I can’t wait to hear how your Salted Caramel Cake turns out—feel free to share your thoughts or any variations you tried in the comments below. Happy baking! 🍰✨
FAQs
Baking can sometimes raise questions, and that’s perfectly okay! Here are some frequently asked questions about making the Salted Caramel Cake, along with helpful answers to guide you through the process.
1. Can I make this cake ahead of time?
Absolutely! You can bake the cake layers a day in advance. Just let them cool completely, wrap them tightly in plastic wrap, and store them in the refrigerator. When you’re ready to serve, assemble with salted caramel sauce for a fresh taste!
2. How should I store leftover cake?
To keep your Salted Caramel Cake fresh, store it in an airtight container at room temperature for up to three days or refrigerate it for up to a week. If you want to keep it longer, consider freezing individual slices wrapped tightly in plastic wrap.
3. What if my caramel sauce crystallizes?
If your caramel sauce crystallizes while cooking, don’t panic! You can gently reheat it over low heat while stirring until it melts back into a smooth consistency. Adding a teaspoon of water can also help bring it back together.
4. Can I use different types of flour?
While all-purpose flour is recommended for its balance between structure and tenderness, you could experiment with other flours like cake flour for an even lighter texture or gluten-free blends if necessary—just be sure they’re suitable for baking!
5. Is there a way to make this recipe dairy-free?
Yes! For dairy-free options:
- Substitute unsweetened applesauce or coconut oil for butter.
- Use almond milk or oat milk instead of buttermilk (add vinegar or lemon juice as needed).
- Ensure your heavy cream alternative is suitable; coconut cream works well!
6. How do I know when my cake is done baking?
The best way to check if your cakes are done is by inserting a toothpick into the center; if it comes out clean (or with just a few crumbs), it’s ready! The edges should also start pulling away slightly from the pan.
Final Thoughts
I hope these FAQs help clarify any concerns you might have about making this delicious Salted Caramel Cake! Remember that every baker has their own unique journey—don’t hesitate to reach out with more questions or share your experiences below.
Happy baking and enjoy every delectable bite of your creation! 🍰✨

